Thursday, November 13, 2014

Rustic Christmas Tree!


I responded to a free ad on Craigslist (on of my favorite sites) and this is what I got.

 
Two bookshelves, Christmas decorations, and a Christmas Tree. I figured.how could I lose at this price...lol. I was very excited to see what the tree looked like so I put it together right away.
 
 
I tried everything to get that middle section working with no luck. So I decided to take off the lights and restring the whole tree. It is a beautiful tree...for the price... even if it's not real.
 
 
I know it's a bit early but I decided to leave it up and decorate it. I started redecorating in January of this year with a country theme and none of the colors went with the new tree decorations I just purchased last year...:(
 
 
This was last years Charlie Brownish tree with lime green and red decorations. Colors didn't go with the décor so I decided to make and repurpose some decorations.


I used dollar store cloths pins to make wooden snowflakes. I took them apart, hot glued them together, spray painted them, and attached a jute twine hanger.


I used dollar store candy cane ornaments wrapped them with jute twine and tied a little piece of cloth on them.


I used a block of foam to make the little presents. I cut it into squares, wrapped them with brown paper, and tied a bow with jute twine.


These were the old ornaments that I wrapped with material from a tablecloth I purchased from the thrift store. I also made a tree skirt and the ties on the candy canes with the same material. It was a big tablecloth...lol.  I used some burlap I had for garland and the star from last year for the top.
 
 
The Finished product or should I say almost finished. I need to get a burlap bow for the top to cover the bottom of the star.


Thursday, October 30, 2014

Foot Stool

 
I made this for my son...lol.


I found him a papasan chair at a thrift shore for 20 bucks!


This is me bring it home in the back of my Toyota corolla! He loved it except for the fact that it didn't come with a foot stool....:(.
 
So I decided to make one!
 
I used a five dollar milk crate and an old chair cushion I had.
 
 
I painted the milk crate brown to match patio furniture. Cut a piece of wood to fit the top. Cut the old cushion to fit the size of the wood and covered with an old curtain I picked up at the thrift store. I then screwed the wood to the top of the milk crate.
 
 
This took all of 30 minutes and cost me 7 bucks!


Burlap Bulliten Board

I have seen a few of these on Pinterest and thought I would give it a try.
 
This one turned out really cool!
 
 
I made this from an old canvas oriental picture I had laying around.

 
I covered it in burlap and tied a rope for a hanger. I attached a letter holder and shelf. I attached some jute twine and clothespins to use for notes. I attached a mason jar with some raffia grass to use as a pencil holder.

 
I added a little chalkboard next to it and some décor and it made a great little message center.
 
 
I did this in about an hour while watching TV one night.


Entry Way Mud Room / Hall Tree

This was a project I have been trying to get done for a while!
 
It took a lot of work, a lot of thrift shopping, and POWER TOOLS! Yep that's right I had to purchase and use some power tools....YEA!
 
 
It started off with this:


The headboard got cut into two pieces. One for the back of the bench and one for the shelf.


I attached a shelf and coat hooks to the bottom portion of the headboard.


I then put a piece of wood on the top portion of the headboard so that I could attach it to the coffee table.


I painted the coffee table and cut a piece of wood to cover the top.

 
I covered the wood with some cushion and fabric.
 
 
I attached the painted top portion of the headboard to the back of the bench.
 

I hung the painted shelf with coat hooks on top. Added some decorations and key holder on the right.


This was a bit of a tough project but lots of fun!


A Gift from a Friend!

     This project was inspired by a gift from a friend. I wouldn't have done anything like this for a while without this inspiration.


     The gift was the bird feeder hanging in the middle. Most of the stuff used here was from the junk pile that the owner left in the back yard. I also used a watering barrel that I had sitting around for a bird bath.


I put them together and painted them and then I went to Home Depot (my favorite place) and picked out some pretty flowers. I'm by no means a gardener so we will see how long it lasts.
 

But for now it is beautiful, thank you friend!
 
It's been a week or so and we are seeing a lot of birds and butterflies. Very enjoyable to just sit and enjoy the wildlife!


Tuesday, September 23, 2014

Accent Table

I had so much fun with the hot glue gun yesterday I had to use it again today!


This was a stool that my son gave me a few years ago. It didn't really go with anything. We just kinda moved it from place to place.


You can see it had Florida State Seminoles on it. (I'm sorry Strat!)
Not anymore!
 
 
This was really easy and only cost $5 for the rope. It only took about  45 minutes.
 
I am using it for an accent table but not sure if it's done yet. I might try and stain over it to darken it up a bit.


Little Kitchen Projects

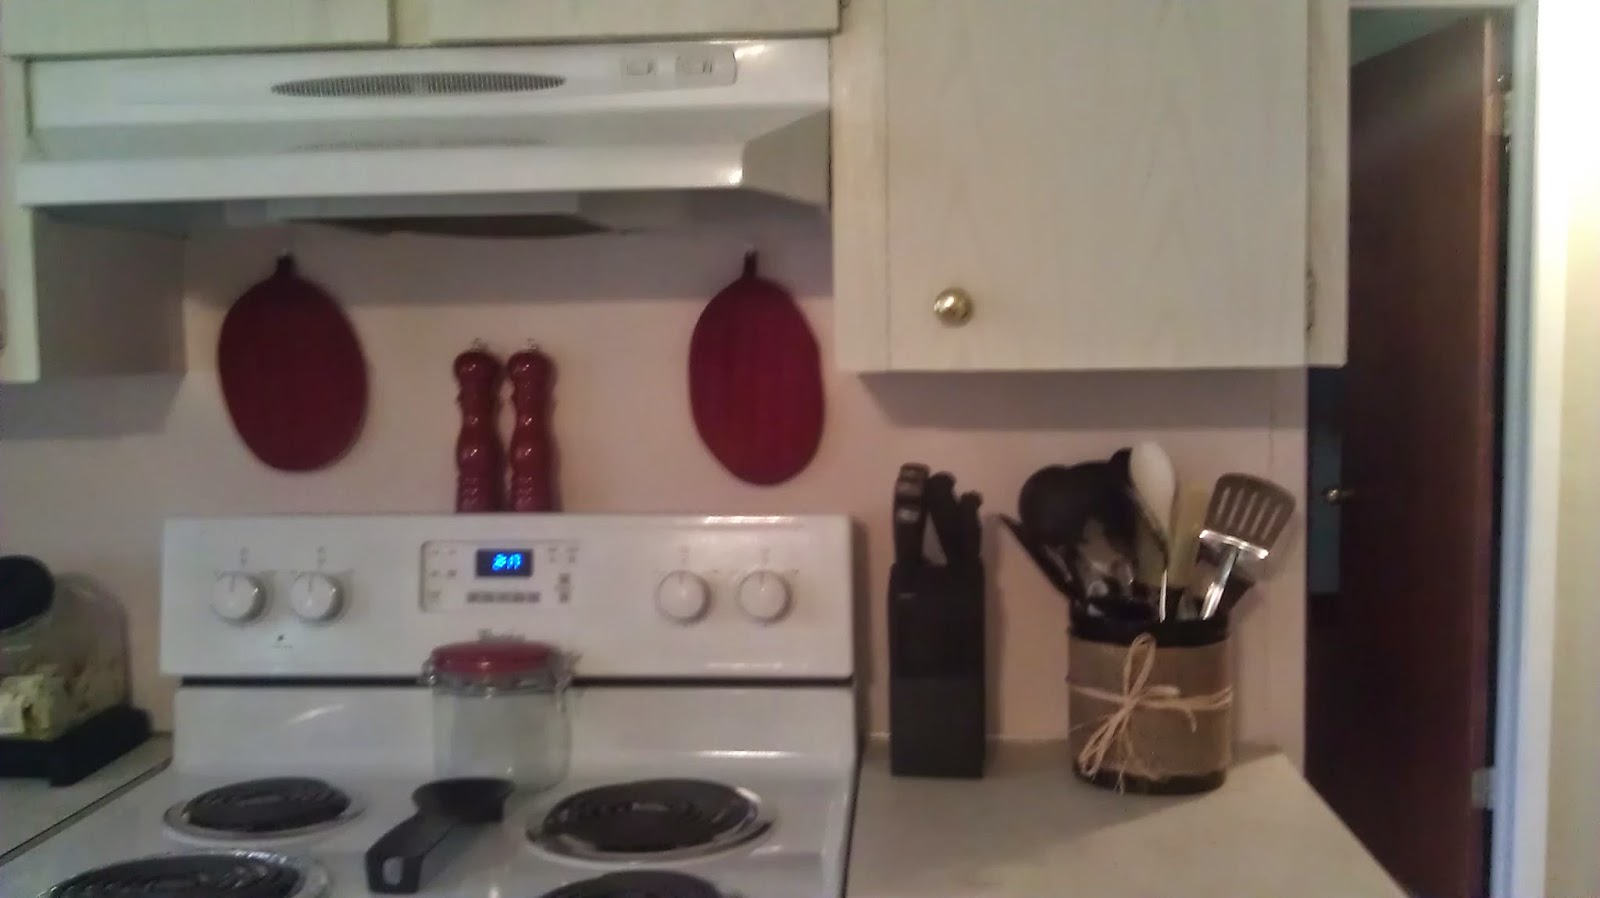
Just a little something to keep me busy and decorate the kitchen. First time with the hot glue gun...lol.
 
I had a great time!
 

$7 for this whole flower pot arrangement...Dollar Store!


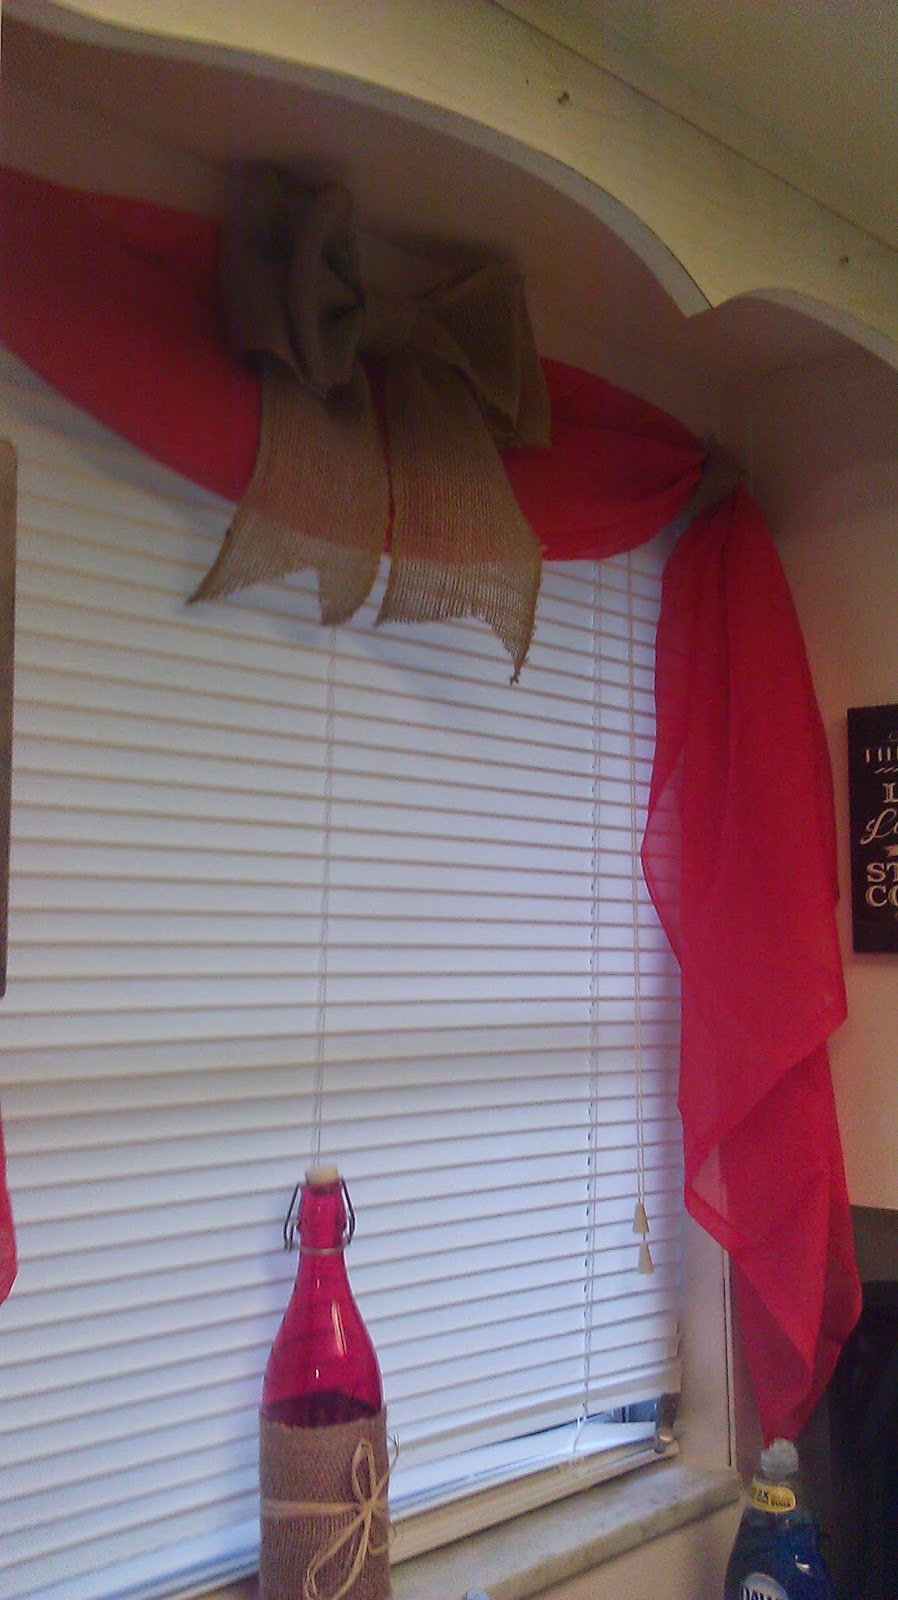
Curtain from goodwill $3 and first hand made bow.
Oops left dirty dishes in the sink...lol.


Thursday, September 18, 2014

First DIY Project

   Ok here we go....


On September 4th my son Vasili and I started a new chapter in our lives. We moved from an apartment where we lived for three years to a rental home in Holiday. Free from apartment living at last!

The home we are renting is an older home owned by a older greek couple. As soon as we seen the sign in the yard we knew it was the one. We called right away to see the inside. When the lady arrived and realized Vasili was greek she fell in love...lol. We knew we were in.

We knew it would need some T.L.C. and clean up. We are up for the challenge. This is actually one of the reasons we moved into a house. You see I have to be busy, I have to have projects, and I love to try and decorate. I will now have a workshop in the garage and as soon as I get done with the projects for our home hopefully I can earn some $$$ off some of the projects.

                                                 So this was my first project. 


                               When we moved in this was how the kitchen looked. Seriously?                  


This is what the back yard looked like.


So after some thought I had Vasili dig out that metal rack looking thingy so I could measure it. (he   was not very happy about this) After measuring to make sure it would fit I began to clean it off to     primer it and paint it. I decided to go with a metallic sliver to make it look like stainless steel.         

 
I then had Vasili help me attach it to that ugly board running across the kitchen wall.
 
 
I purchased the little white cabinets at Target and got some S hooks from Home Depot to hang up the pots and pans.
 
 
Wa-La!
First project complete!
 
Total Cost $94
4 cans of spray paint $16
S hooks $8
Cabinets $70